Acura TL 2009-2014: How to Install Lowering Springs
Are you looking to drop your car in the weeds, whether it be for performance or aesthetics? Here's how to install a set of lowering springs on your Acura TL.
This article applies to the Acura TL (2009-2014).
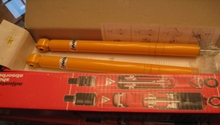
Lowering springs are exactly what they sound like: they are coil springs that are shorter, stiffer and replace your OEM springs, allowing the car to have a lower ride height. Lowering your ride reduces unsightly wheel gap—the gap between the wheels and the fender opening—which is an aesthetic buzzkill. Additionally, the stiffer "rate" of the spring will lead to flatter cornering, and in theory, sharper handling. For a couple hundred bucks you can pick up a set of springs from a reputable brand and be on your way to giving your TL a more sporting edge.
Unfortunately, those cool lowering springs do take a bit of work to get them installed. While you could pay a shop several hundred dollars to handle it, where is the fun in that? Show off your DIY chops and handle it yourself. Any tools you may need can be picked up at your local auto parts store and this should only take a few hours. So if you have a free weekend day to kill, let's get it done.

Materials Needed
- Ratchet
- 10, 14, 17mm sockets
- Jack and jack stands
- Spring compressor tool
- Impact wrench (optional, but helpful)
Step 1 – Remove the rear seat
To remove the rear spring/strut assembly, you must first remove the rear seat to access the top bolts. Underneath the bottom of the rear seat you will find a knob. Pull up on that knob on both sides to release the seat bottom and then pull it forward a bit. You will find four 10mm bolts: two on either side of the rear arm rest, and one on each side by the doors. Remove the bolts and pull the seat bottom out. Remove the 14mm bolt holding the bottom of the rear middle passenger seat belt in place. Raise up the rear passenger side headrest and you will see a slit in the fabric. Loosen the 10mm bolt located inside this slit, but don't remove it. Once this is complete, you will be able to pull the rear seat back out.
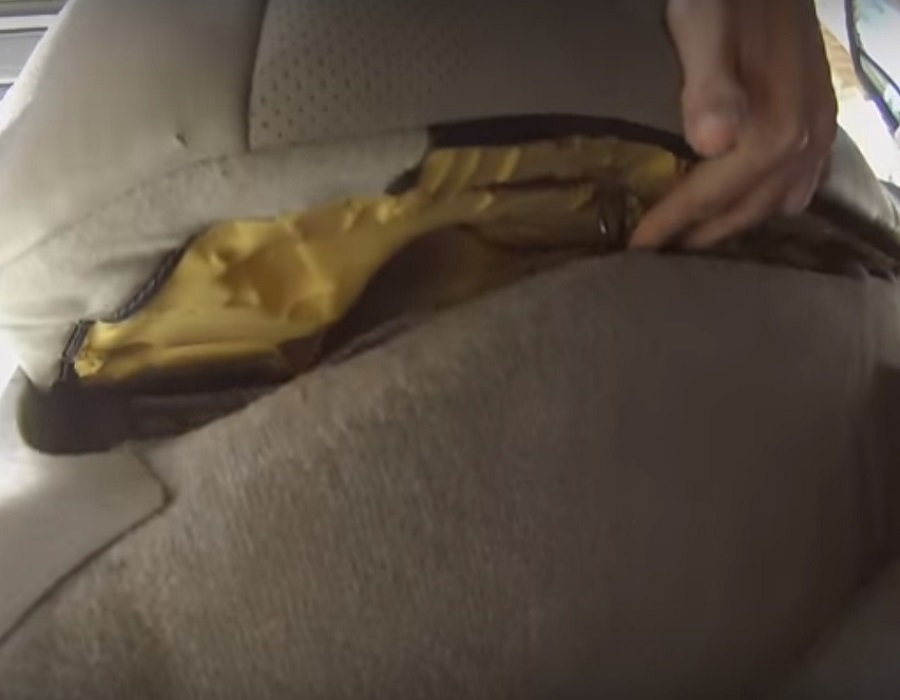
Figure 1. Lift up on the knobs under the rear seat bottom to remove it. 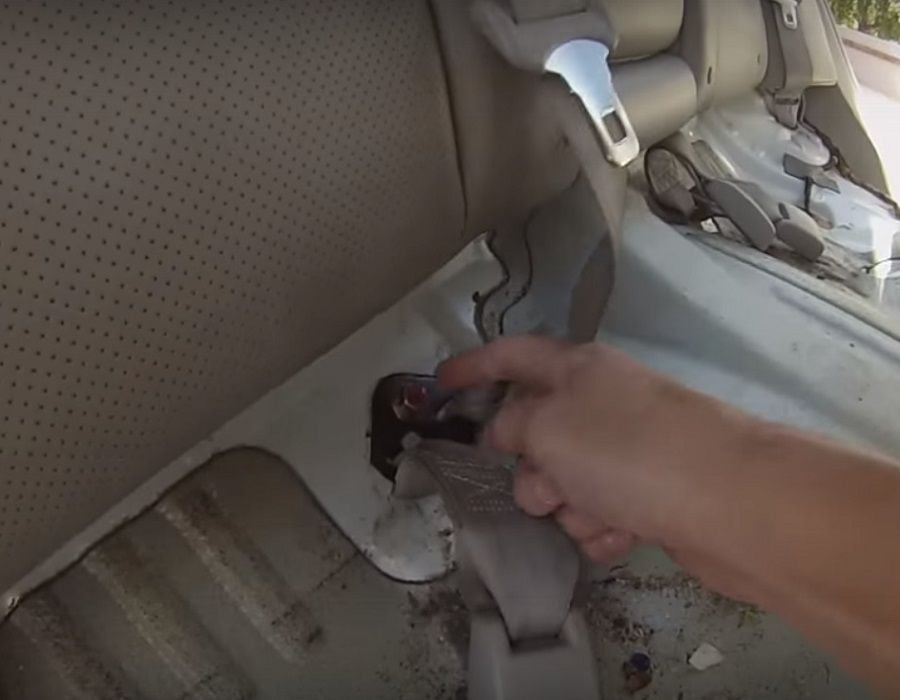
Figure 2. Remove the rear middle passenger seat belt bolt. 
Figure 3. Loosen the bolt located behind the slit on the passenger side.
Step 2 – Remove the rear coilovers
With the rear seat removed, you will be able to access the 14mm bolts that hold the rear coilovers in place. Remove the two bolts from each side. Jack up the rear of the car and place it on jack stands, then remove the rear wheels. Remove the bolts that go through the bottom of the struts (17mm), then the bolts on either side of the bottom strut bolts (14mm). This will enable you to slide the linkage out of the way, as well as the brakes, so that you have enough clearance to remove the rear coilovers. Lift up on the rotor first, push the coilovers back, then push down on the rotors and remove the coilovers.
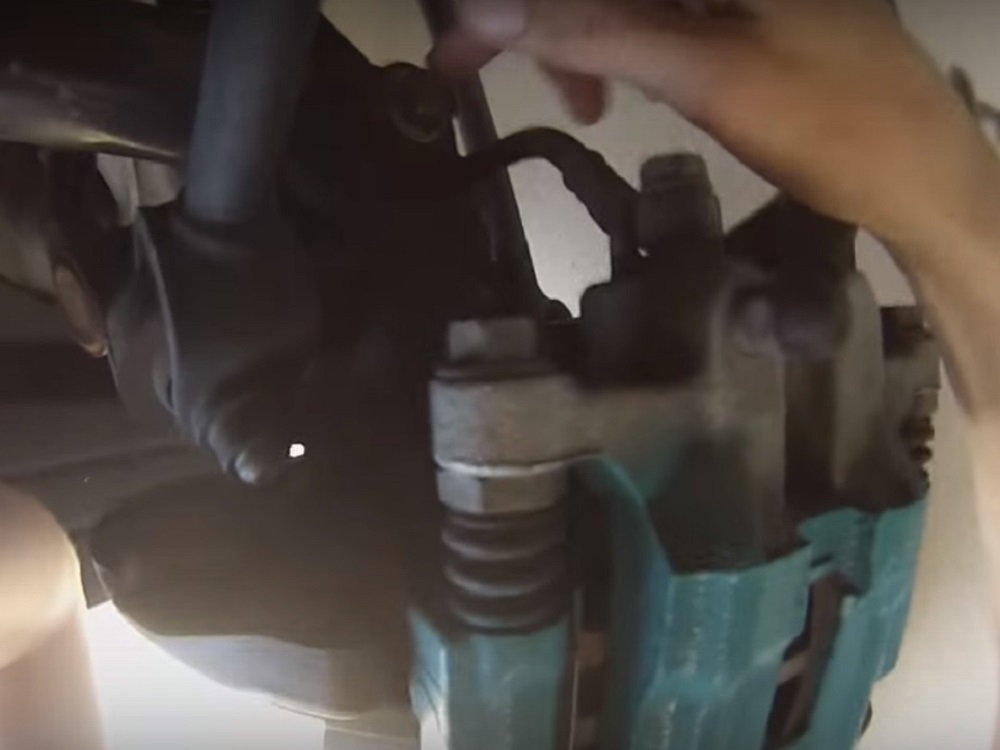
Figure 4. Remove the bottom strut bolts. 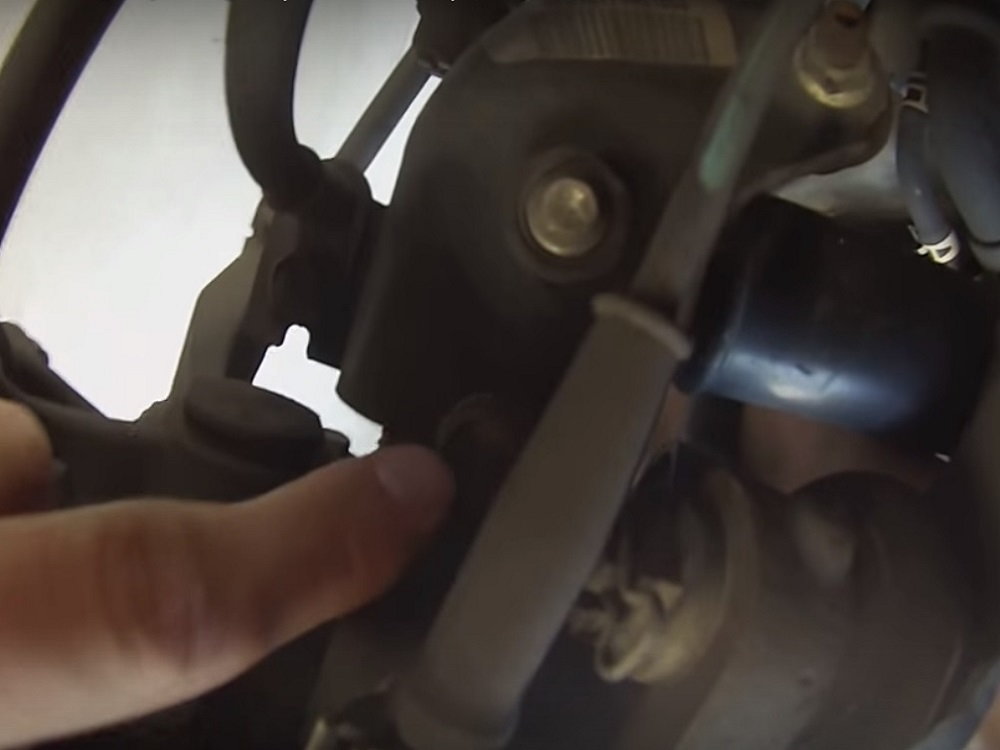
Figure 5. Remove the bolts on either side of the bottom strut bolts.
Step 3 – Install rear lowering springs
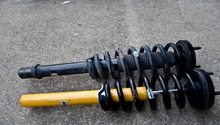
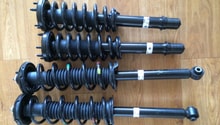
Use the spring compression tool to compress each stock spring. Remove the bolt and top cap from the top of the coilover, then remove the springs. Carefully decompress each spring to remove the tool, then install the compression tool on the lowering springs and compress them. Slide the lowering springs on the struts and reinstall the top bolts and caps, then carefully decompress them. You may need an impact wrench for the top bolts, as it can be difficult to remove and reinstall them. Take the assembled coilover assemblies back to the car and slide them back into place, then reinstall the bottom and top bolts, waiting to tighten them until all five are threaded back on. Reinstall the back seat and bolts.
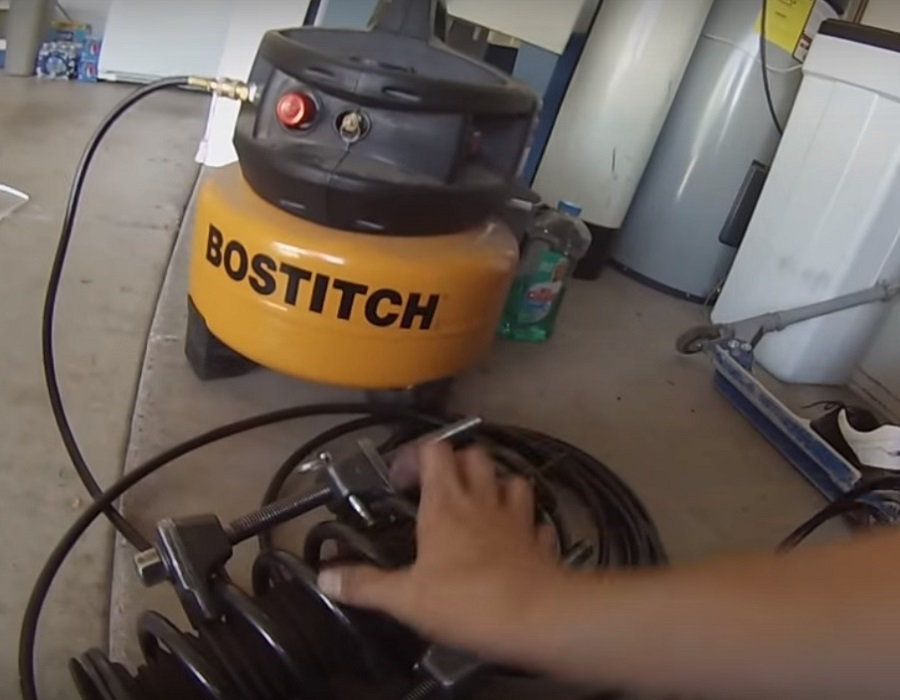
Figure 6. Use the spring compression tool to remove the old springs and install the new, lowering springs. 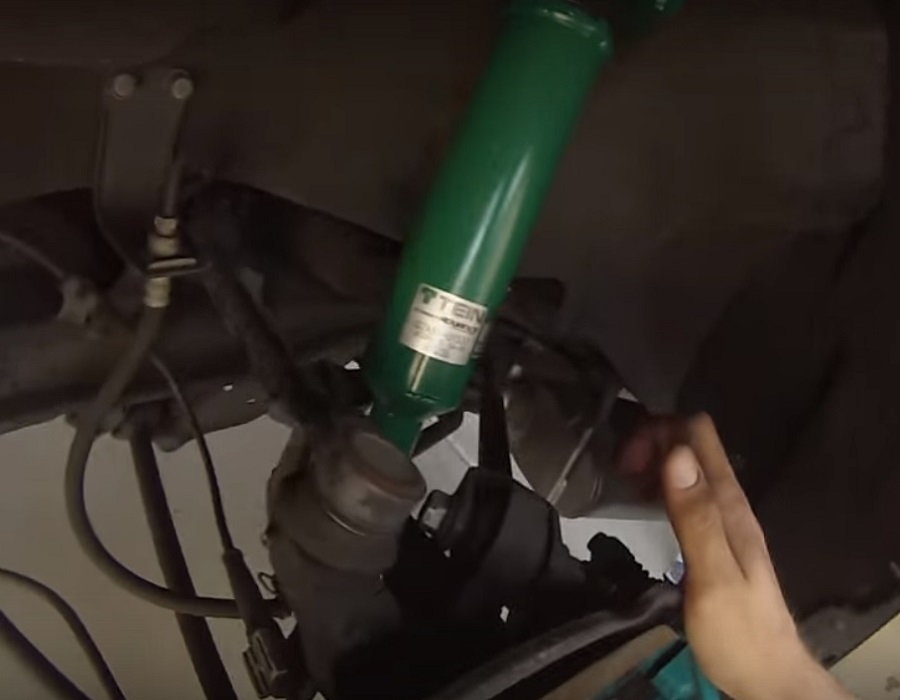
Figure 7. Install the new coilovers in the car.
Step 4 – Remove the front coilovers
Jack up the front of the car and place it on jack stands, then remove the front wheels. Pop the hood and remove the two bolts holding the strut bar in place, then the two bolts on the top of each strut tower. Remove the bottom strut bolts and the bolts on the lower arms, then swing the arms out of the way. At this point you should be able to drop the coilovers straight out of the car.

Figure 8. Remove the strut brace and strut tower bolts. 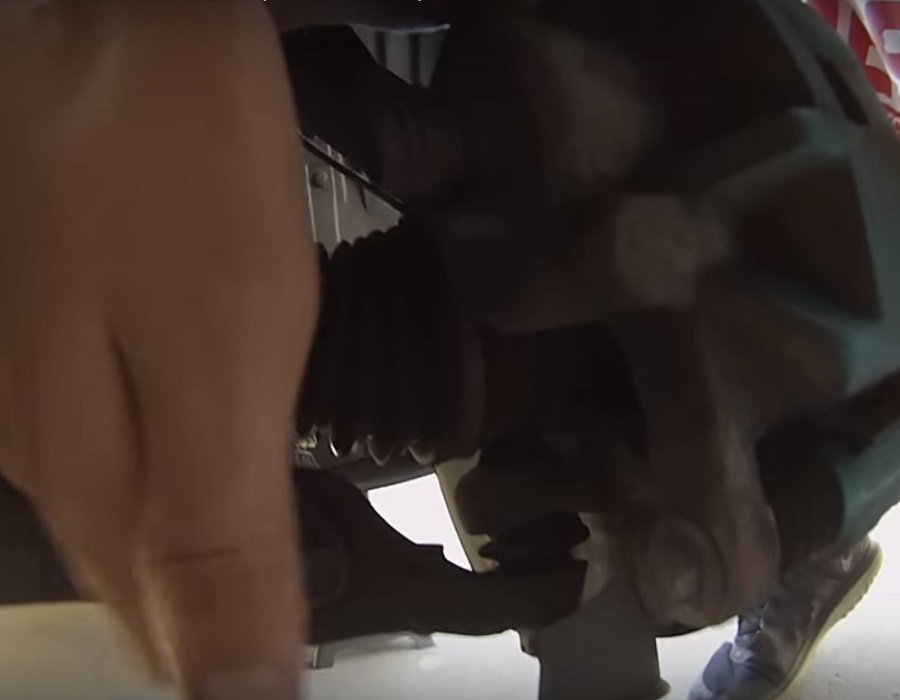
Figure 9. Remove the lower arm bolts. 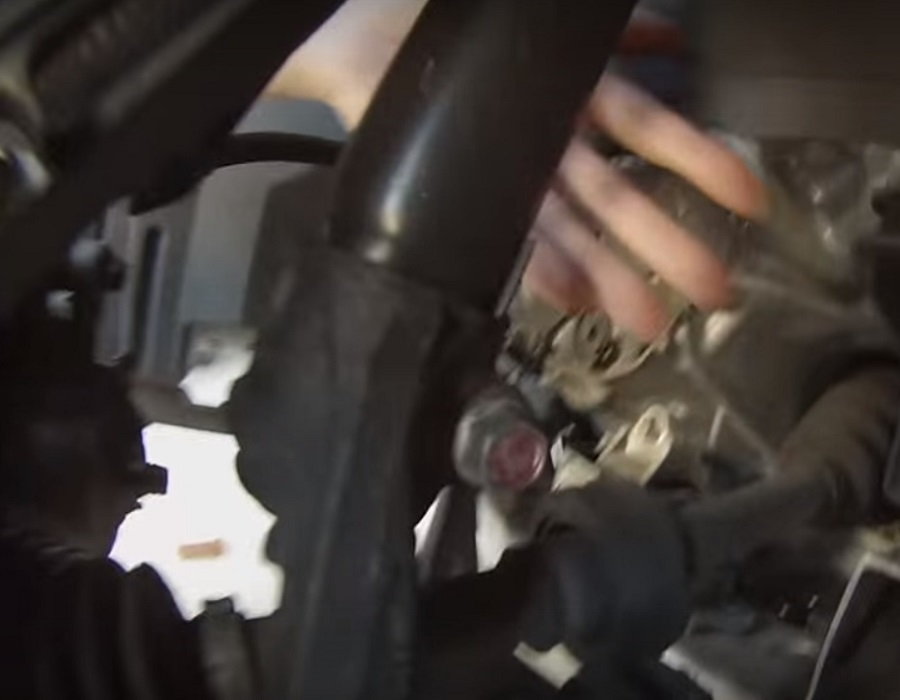
Figure 10. Remove the lower strut bolts.
Step 5 – Install front lowering springs
As you did with the rear coilovers, use the spring compression tool to remove the springs from the struts. Remove the top bolt and cap, then compress the lowering springs and install them. Reinstall the top cap and bolt, then slide the coilovers back in the car. Replace (but don't tighten) the two bottom bolts and top bolts, then tighten everything up. Bolt the wheels back on to the car and lower it back down.
After all is said and done, take a low speed test drive to ensure there are no noises or handling quirks. From there, see yourself to your local alignment shop and get a fresh alignment to make sure anything that moved during disassembly comes back to place.
Featured Video: How to Install Coilovers/Lowering Springs on TL
Related Discussions
- DIY Lowering/Dropping Your TL - AcuraZine.com
- Best Lowering Springs - AcuraZine.com
- H&R Springs Review - AcuraZine.com
- Anyone Using Lowering Springs - AcuraZine.com
- Torque Specs for Springs and Shocks - AcuraZine.com