Acura TSX: How to Change Oil
Changing the oil in your Acura TSX is by far the most important piece of maintenance when it comes to engine wear and fuel economy. Read on to learn how you can do it yourself.
This article applies to the Acura TSX (2004-2014).
The engine oil works as a lubricant to ensure all of your Acura TSX's internal engine components are safe from wear and tear. The oil also cools things down inside, keeping the pistons and rings happy while pumping at thousands of rpm all day long. As the heat beaks down the oil, it isn't as slippery as it could be and your mileage, power and durability all suffer. The recommended oil change intervals is every 5,000 miles, but the Acura's computer will remind you when the time is right and sometimes that isn't until you have gone 7,000 or even 10,000 miles. This guide will show you how you can replace your engine oil yourself when the time comes, so get some gloves and read on.

Materials Needed
- Oil filter wrench
- Socket
- Drain pan
- Engine oil
This article, and all the pictures, is based on a Acura TSX with the 2.4 liter four cylinder K24 engine. The 2nd generation cars had the option of a larger V6 motor, which would be similar, except the filter and drain plugs are in different locations, as well as the amount of oil needed to fill it is different.
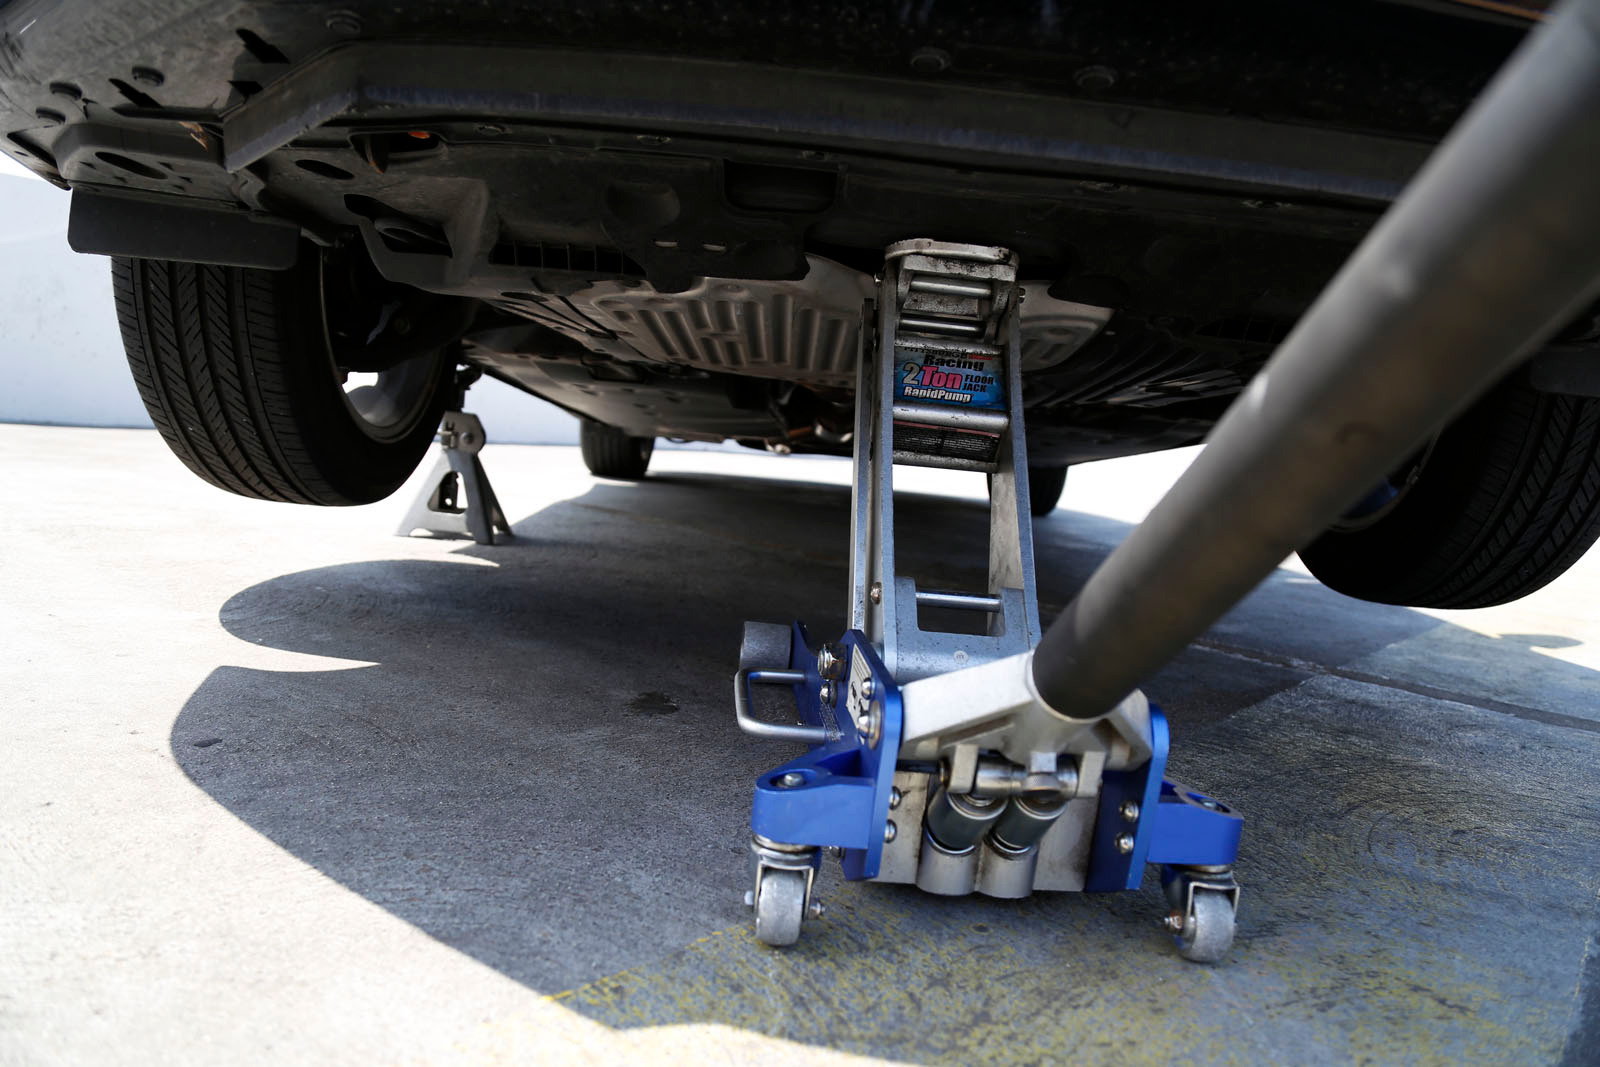
Step 1 – Jack up your car
Use the jack point on the front center of the car to raise it, then secure it with jack stands.
Step 2 – Remove the splash shield
For better aerodynamics, most cars these days have a splash shield under the motor. In order to change the oil in your 2nd generation TSX you will have to remove several bolts, but they are easy to get to along the passenger and drive side of the pan.
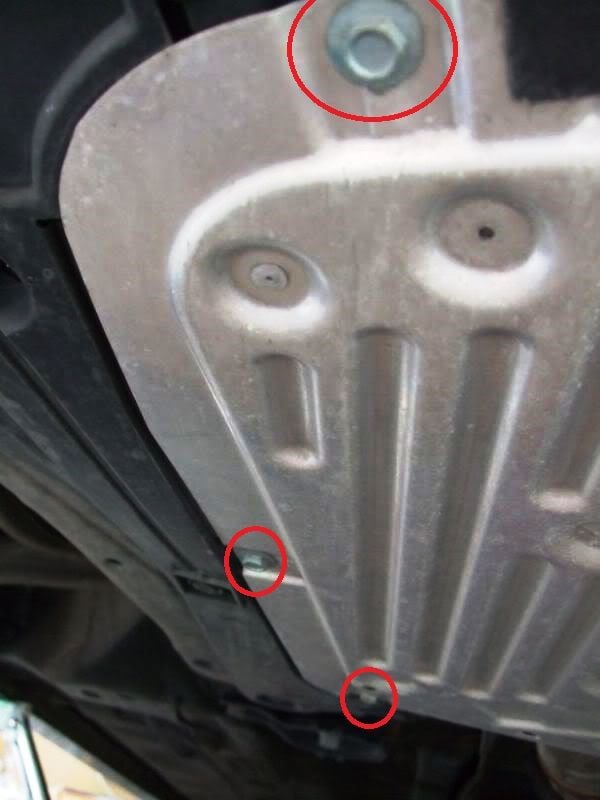
Figure 2. Passenger side bolts for splash pan. 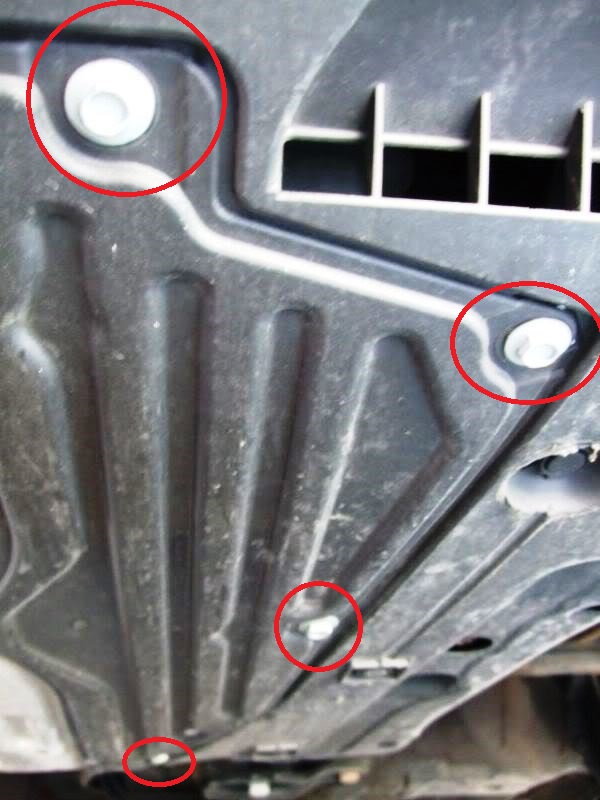
Figure 3. Driver side bolts for splash pan.
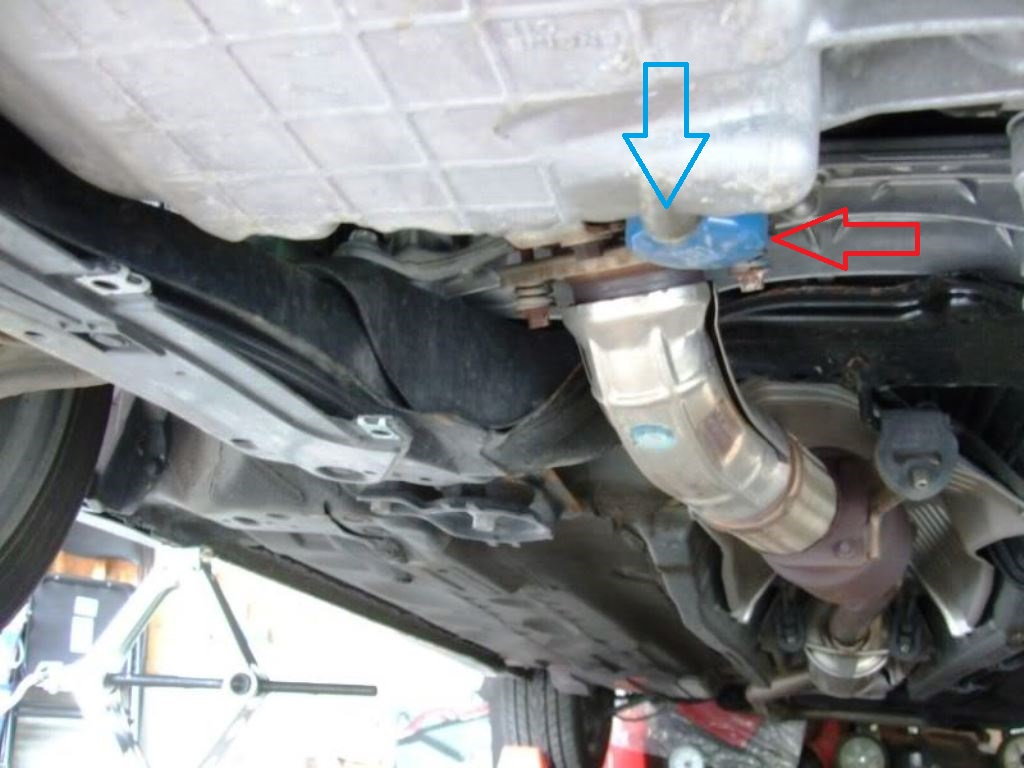
Step 3 – Drain engine oil
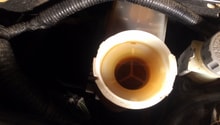
With the engine warm, but not hot (about 10 minutes of idling), place your drain pan under the engine's oil drain plug. Remove the drain plug and let the oil drain completely. Removing the filter cap on the top of the motor will make it drain faster. Wipe the plug clean and reinstall it.
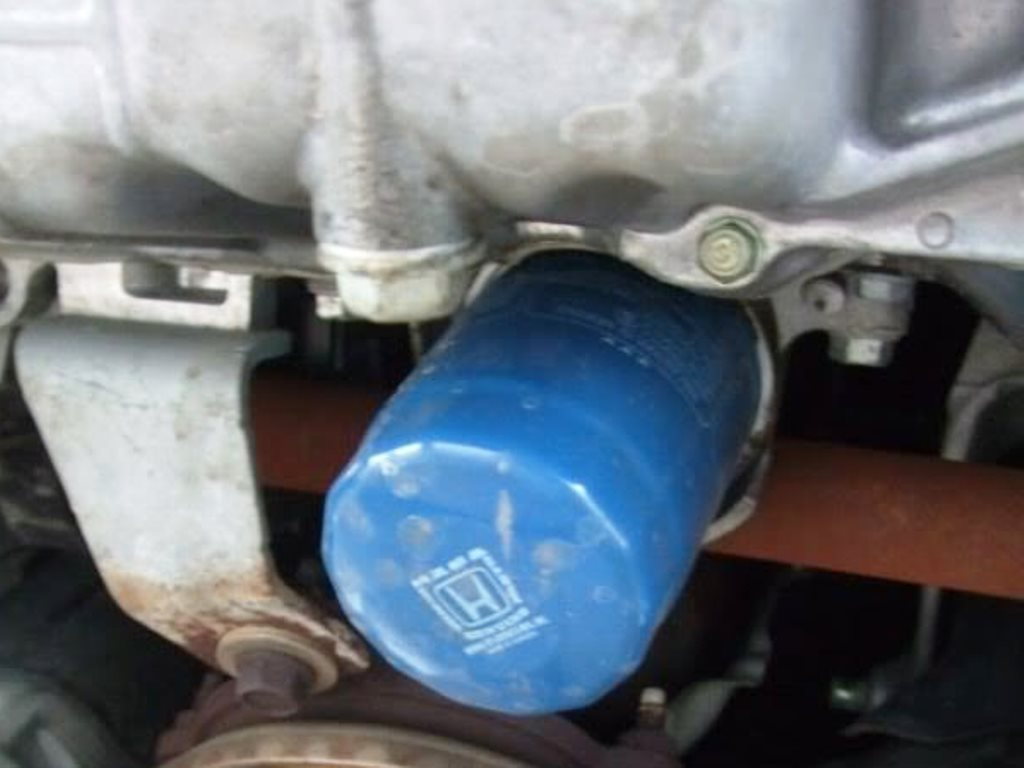
Step 4 – Replace engine's filter
Locate the filter right next to the engine's oil pan, then remove it using your filter wrench. Fill the new filter with oil and rub a little on the gasket, then spin it onto the motor by hand. It is best to hand-tighten the filter, as tight as you can without a tool. Do not use a filter wrench during installation, or you risk over-tightening it.
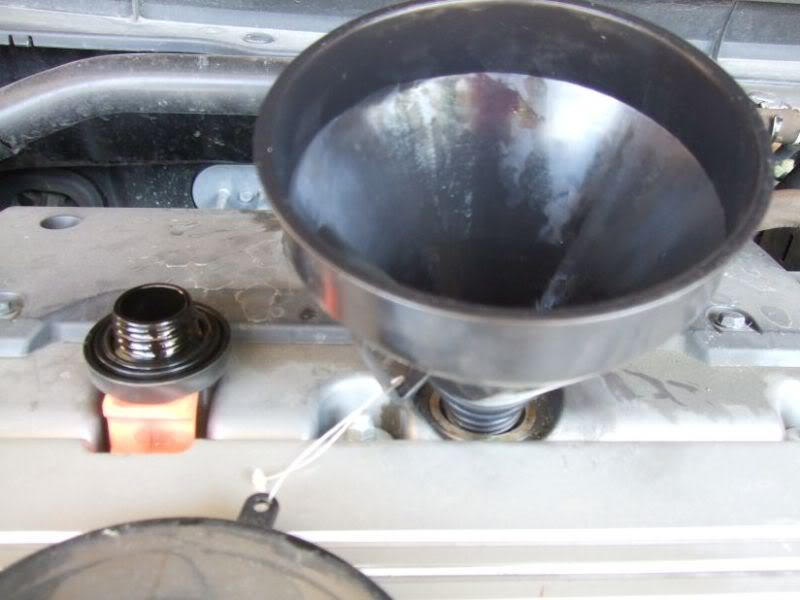
Step 5 – Fill engine with oil
Fill the motor from the top with five quarts of 5W-20 oil, or nearly five quarts if you poured some in the filter. The 3.5 liter V6 actually will take just slightly less oil, but the same viscosity. In both of them it is best to fill it with 4.5 quarts of oil, start the engine, shut it off, wait five minutes or so, then take a reading on the dipstick. Of course it is better to have slightly more oil than have it slightly low.
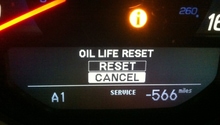
Step 6 – Reset the service light
Of course the last step to an oil change in any modern car is resetting the maintenance reminder service light inside the car. Acura makes it easy with a reset button right on the steering wheel. Simply scroll through the multi-information display (MID) until you get to the oil change reminder, and press and hold down the reset button.

Related Discussions
- DIY Oil Change - Acurazine.com
- Oil Light - Acurazine.com
- Engine Oil Dipstick - Acurazine.com