Acura MDX: How to Install Sport Running Boards
Adding sport running boards can not only help you in get into your Acura MDX easier, they can also change the looks of its exterior. Read on to learn how to install them.
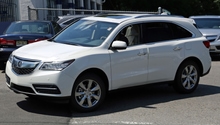
This article applies to the Acura MDX.
Installing sport running boards is the perfect touch to your Acura MDX's exterior. It adds a nice aggressive look to it, while giving you the luxury of assistance when stepping into your car. Installing them requires the removal of some parts, but nothing is too hard. The dealership would charge you a lot of money, especially if you're buying the boards from them. However, doing it on your own will save you some cash, and with some patience, you can get the job done just as good as they dealership would.

Materials Needed
- Flathead screwdriver
- Philips screwdriver
- Socket set
- Running boards
Step 1 – Remove the splash guard
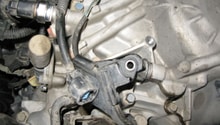
Depending on which side you're working on, turn the wheel away from it. So if you're on the left side, turn your wheel all the way to the right, then remove the screws holding the splash guard in place. Remove the splash guard.

Step 2 – Remove the sill panel
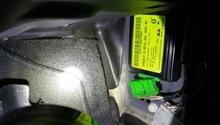
Pop the clips off with your flat head screwdriver (Figure 2), then use the same screwdriver to pop the white clips off the front of the trim panel. You would have to push it out with your screwdriver. Once the clips are removed, pull the front of the panel out, then slide the sill piece forward; this will disconnect it from the rest of the clips. Pull the whole piece out of the car.

Figure 2. Remove clip. 
Figure 3. Remove white clips. 
Figure 4. Remove panel.
Step 3 – Install the new panel
Install the new panel the same way you removed the old one. The new panel will have brackets that will hold the running boards in place. Make sure all the clips are in place. Install the splash guards; most running boards will come with new splash guards, but if yours doesn't, just install the old ones.

Step 4 – Install the running boards
The running boards will have two brackets each which attach to the new panel you've installed. Bolt the brackets to the panel. You may need someone to help you hold the boards while you bolt it down.

Figure 6. Install running boards. 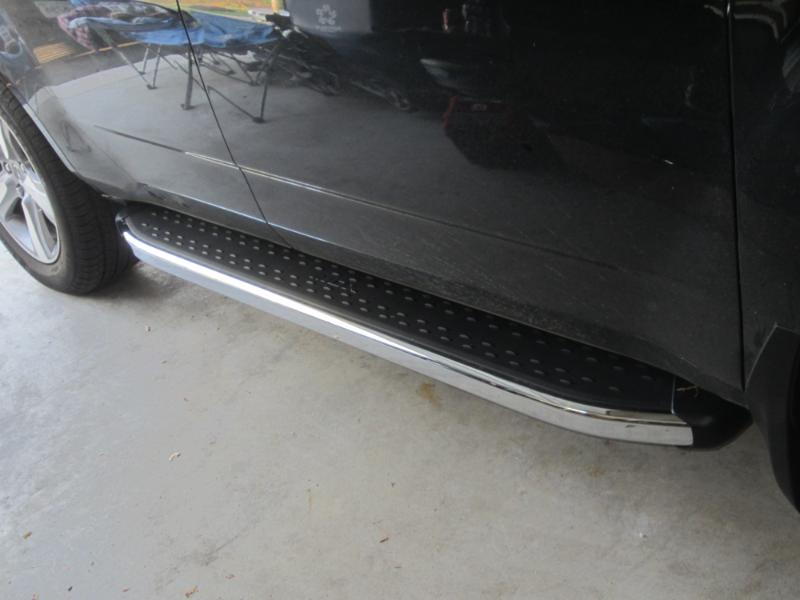
Figure 7. Running board installed.
Related Discussion
- Premium Running Boards - Acurazine.com